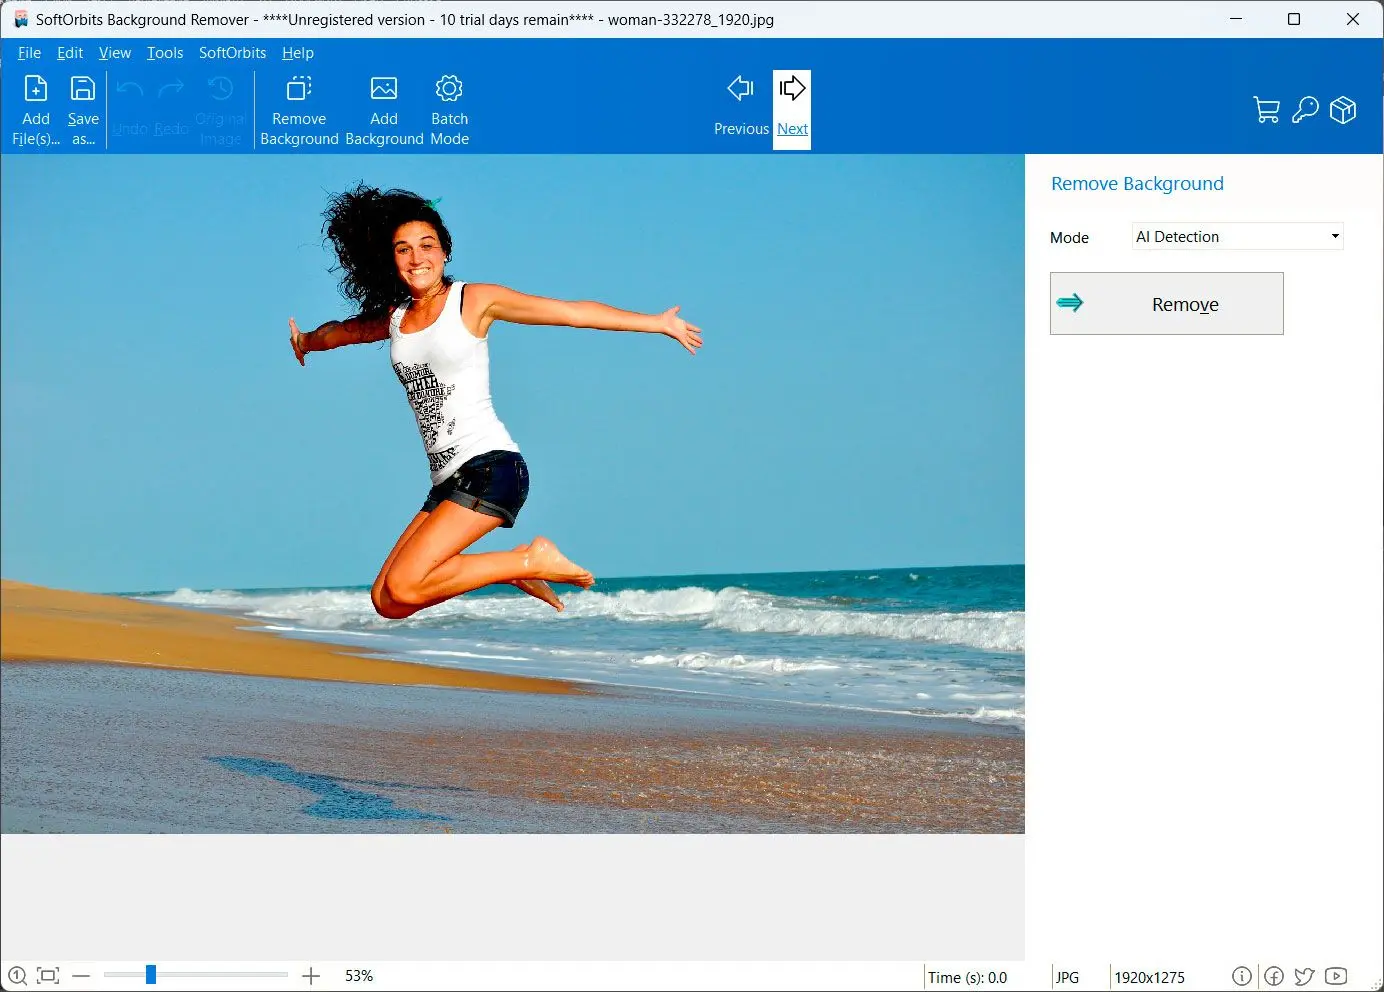
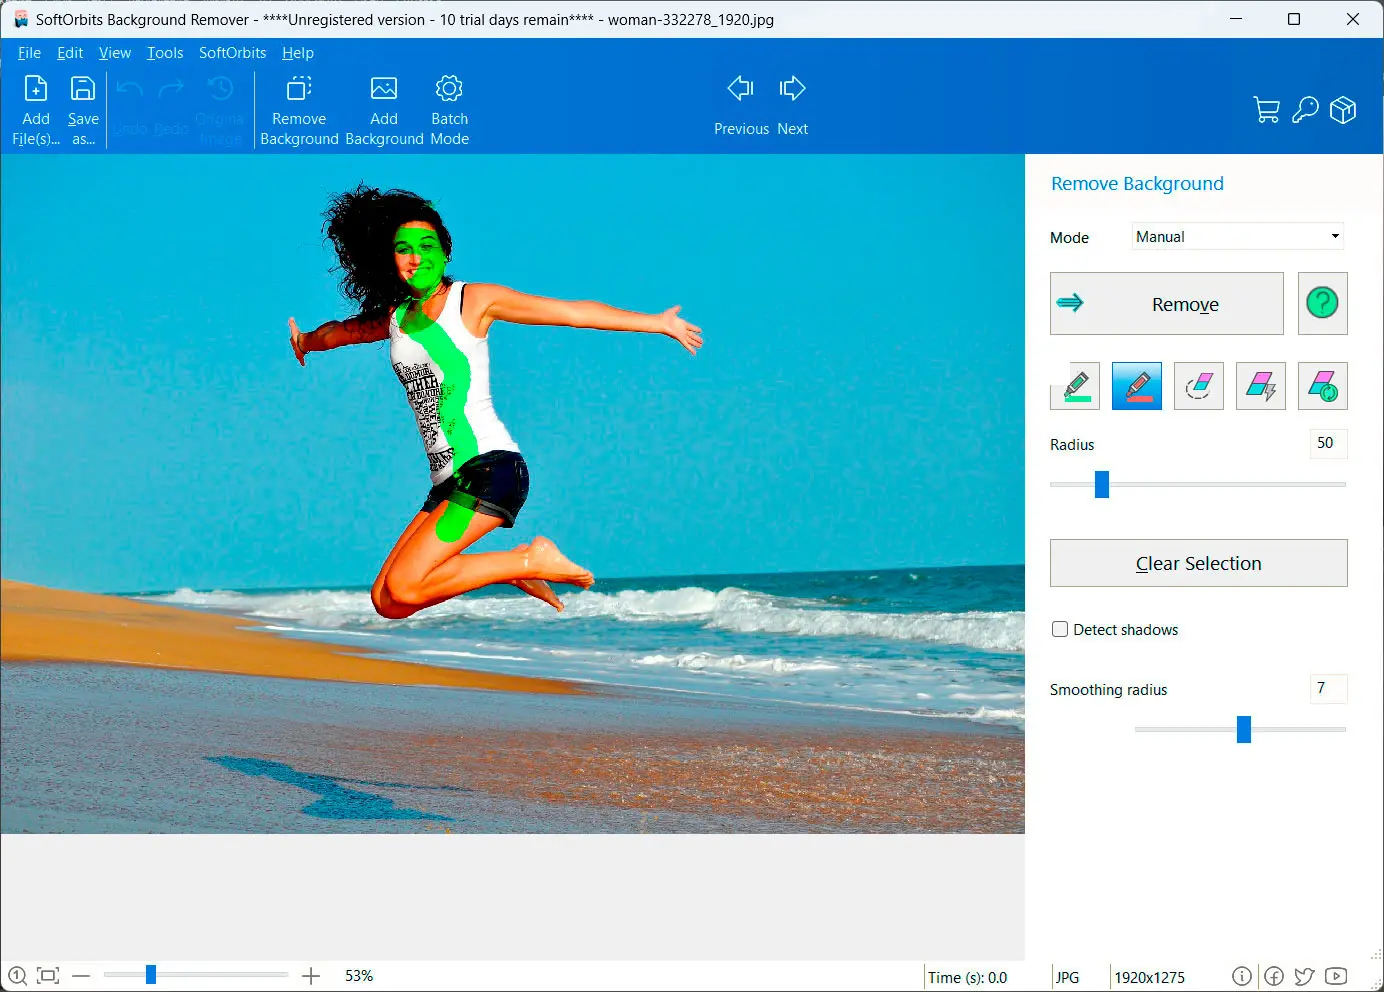
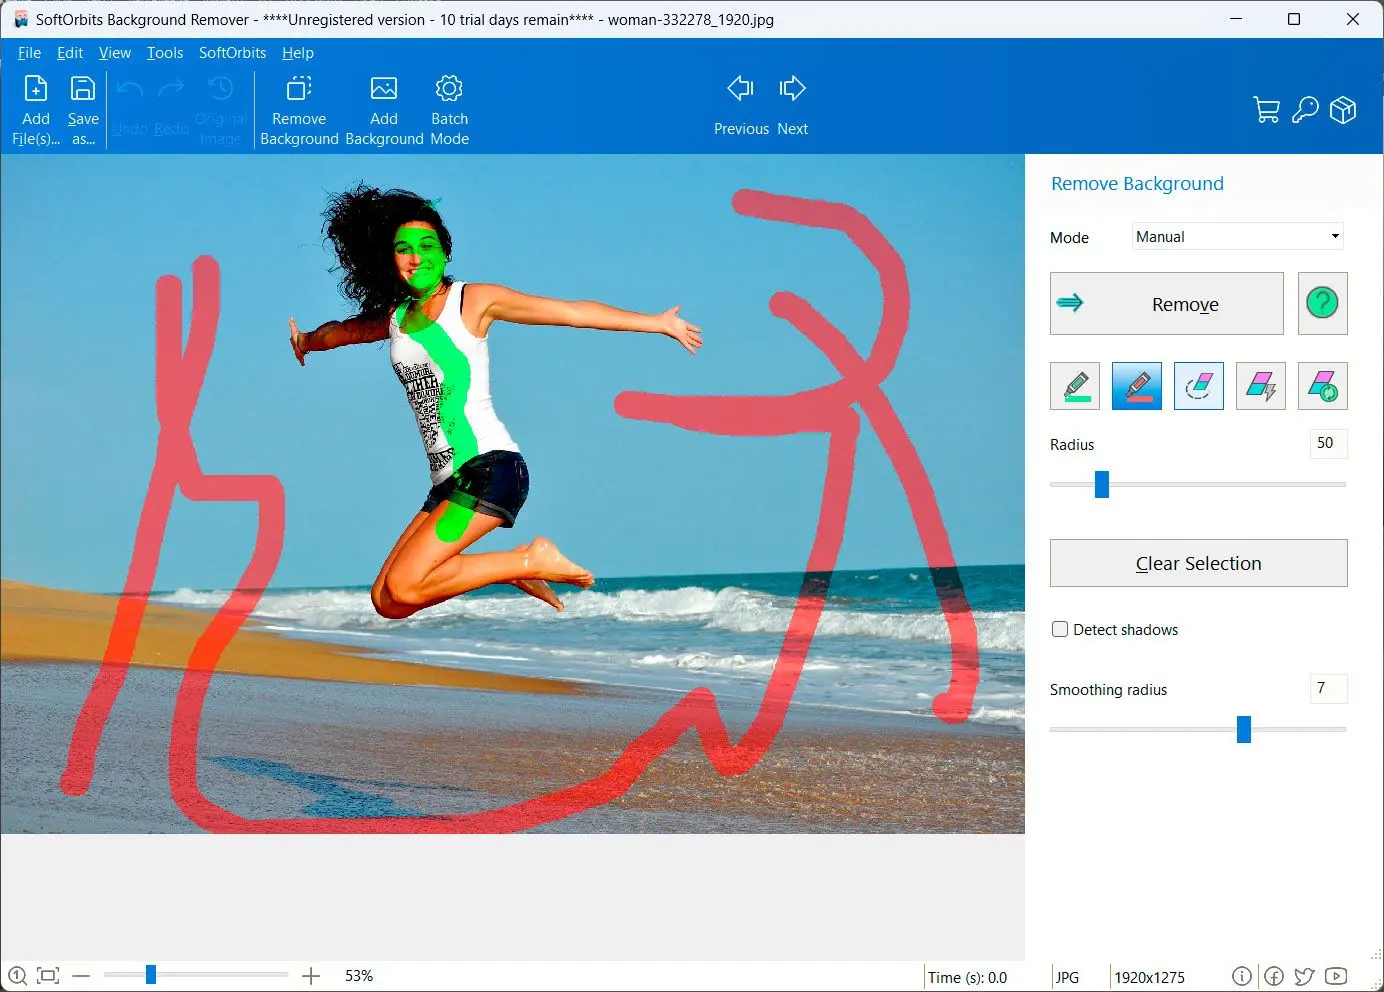
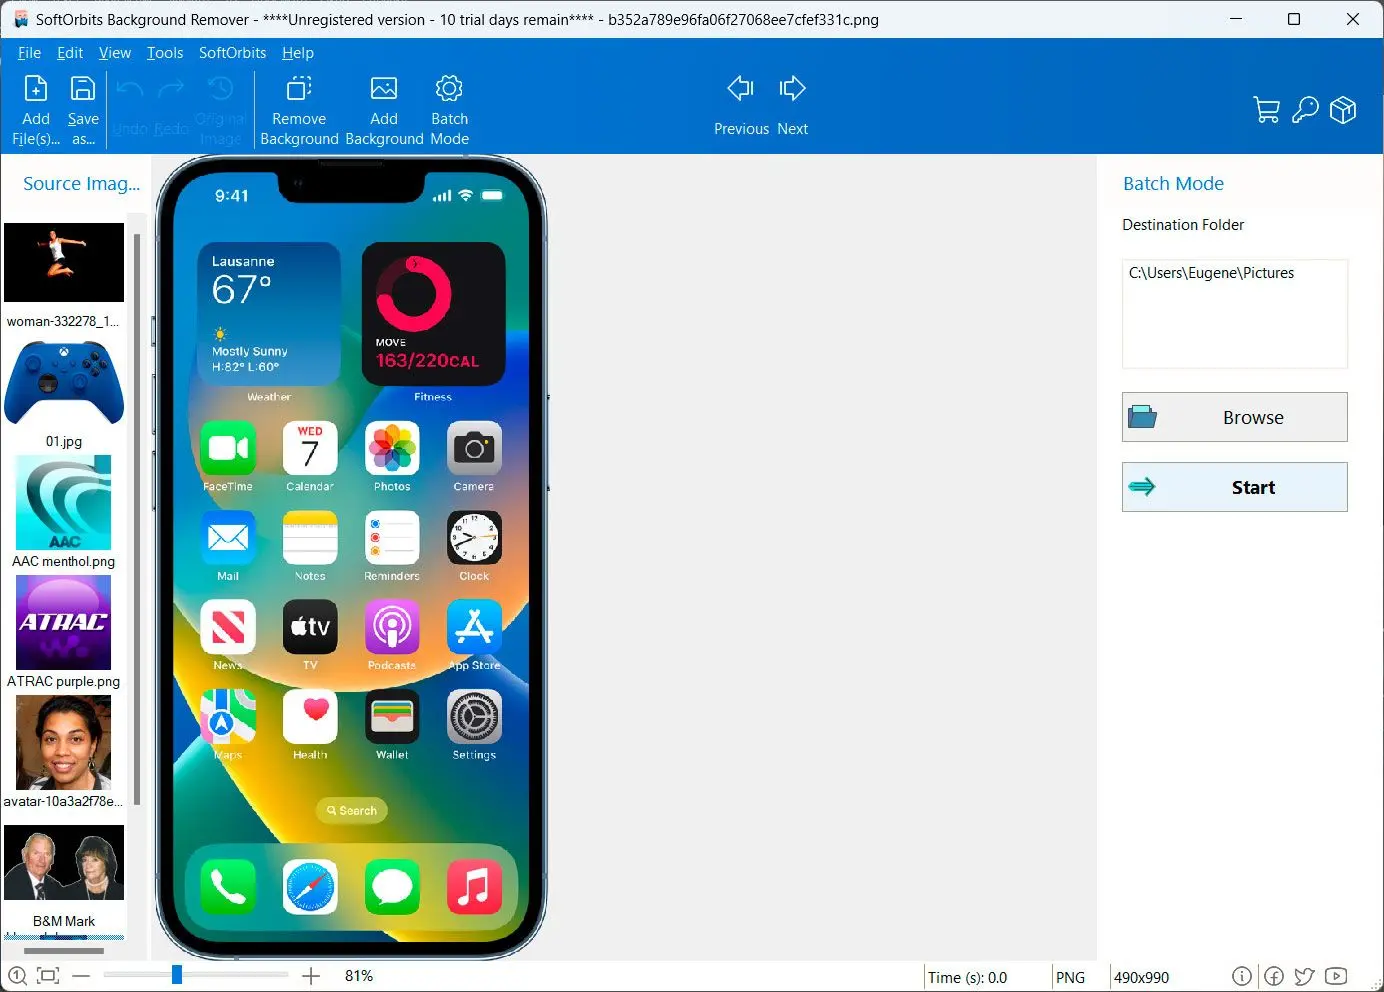
How to remove background from image: A Step-by-Step Guide
Oscillight: Guide
: The game revolves around managing light and energy levels. A key strategy involves accelerating when energy is low and decelerating
when it is high to maintain an average energy level above 1. Upgrades & Multipliers
: Players can unlock upgrades that add multipliers based on current energy levels, making high-level energy retention more powerful as the game progresses. Color-Coded Lenses
: Players use different colored lenses for specific benefits. For example, the increases the "Stabilization" energy level cap by 30%. Reset Layers oscillight guide
: Like many incremental games, it features multiple reset layers (e.g., prism resets) where players trade progress for permanent power-ups. Prism Upgrades
: Advanced upgrades like the "Backup Laser" prevent the laser from resetting during a prism reset, allowing for "ad infinitum" progression. Play Experience : A semi-active playthrough typically takes about 3–4 hours to complete all standard challenges. End-Game Rewards
: Completing the game offers rewards like "2x light speed" for subsequent runs. : You can play the game on : The game revolves around managing light and energy levels
What specific part of the game are you stuck on, or are you looking for a full walkthrough of the color challenges? AI responses may include mistakes. Learn more Oscillight by buck4437 - itch.io
Here’s informative content for an Oscillight Guide, structured for clarity and usefulness—whether for a product manual, website, or tutorial.
Troubleshooting Common Issues
| Symptom | Likely Fix |
|---------|-------------|
| No light movement | Check signal ground; increase sensitivity |
| Blinking erratic | Trigger level too low – raise it slightly |
| Light too dim | Increase LED brightness (if adjustable) |
| Waveform inverted | Swap input polarity or invert channel |
| Ghosting / trails | Reduce persistence setting (if available) | Troubleshooting Common Issues | Symptom | Likely Fix
3. Architectural Implementations
There are two primary proposed architectures for the Oscillight Guide.
Step 2: Selecting XY Mode
Most Oscillights hide XY mode in the "Horizontal" or "Display" menu. Navigate to:
Horiz Menu -> Time Base -> XY.
Note: In this mode, the Time/Div knob becomes irrelevant because time is no longer the horizontal axis.
Step 1: Probe Calibration
Connect your 1x or 10x probes to Channel 1 (X) and Channel 2 (Y). Locate the calibration terminal (usually a 1kHz square wave).
- Standard scope: You adjust for flat tops.
- Oscillight: Ensure the square wave looks sharp in XY mode. If the corners are rounded, adjust the probe's variable capacitor until they are crisp.
Part 6: Troubleshooting Common Oscillight Issues
Even with a guide, you will run into problems. Here is how to fix them.
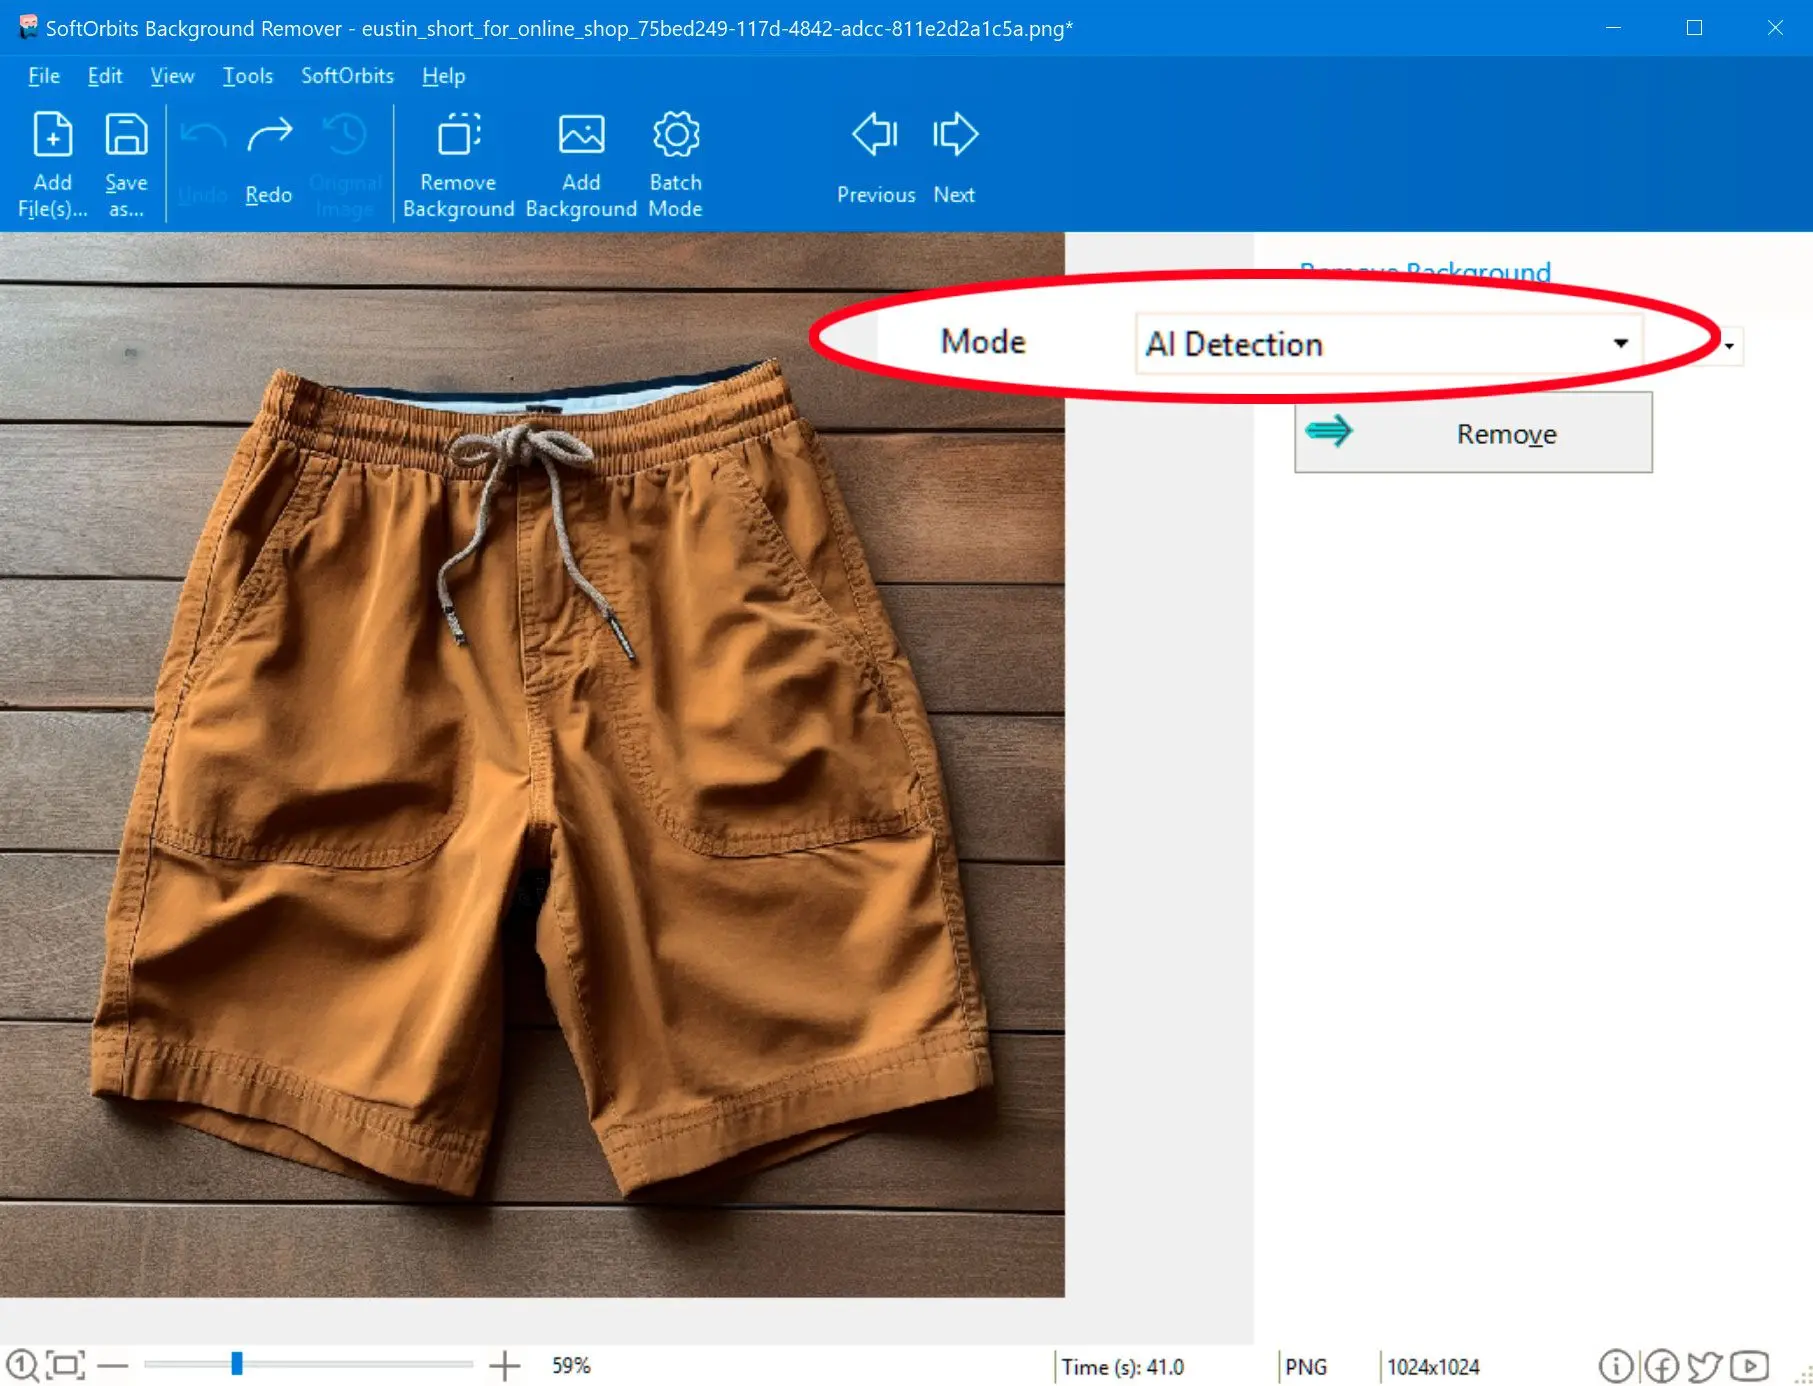
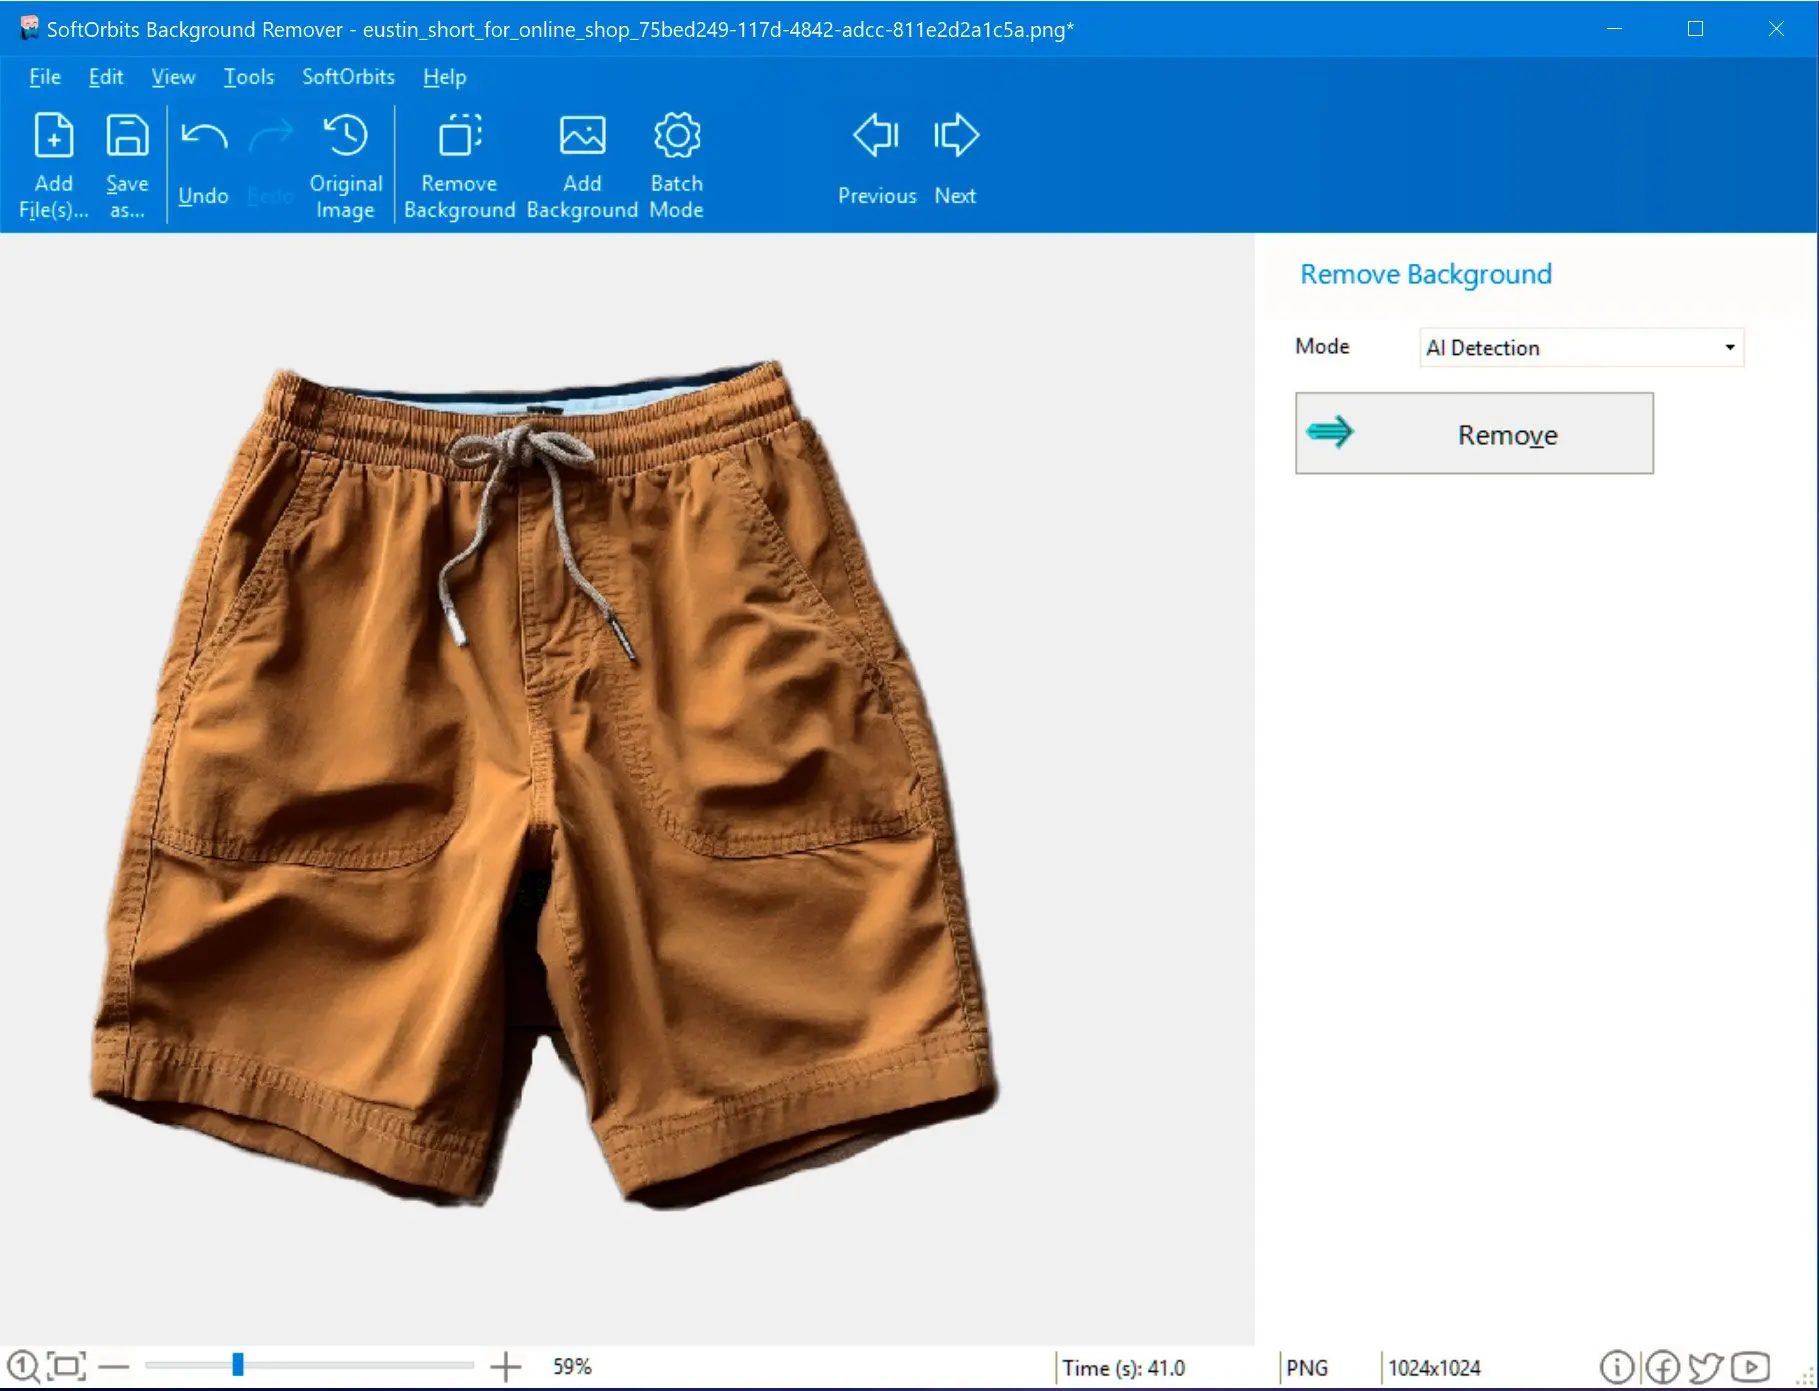
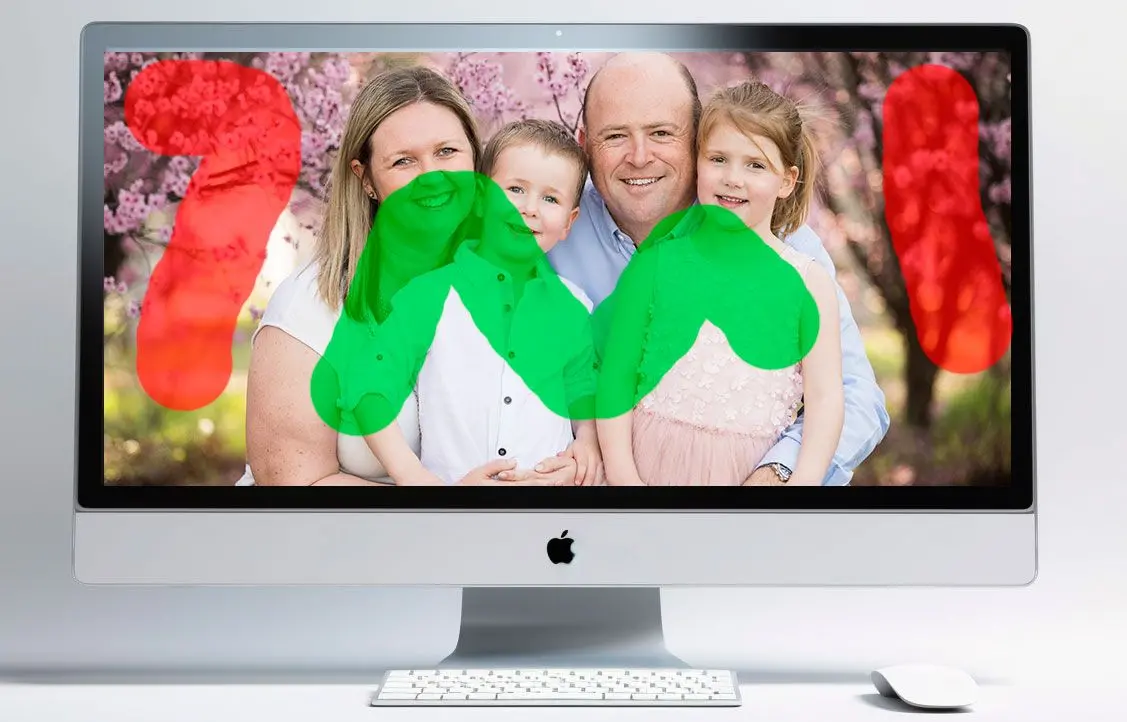
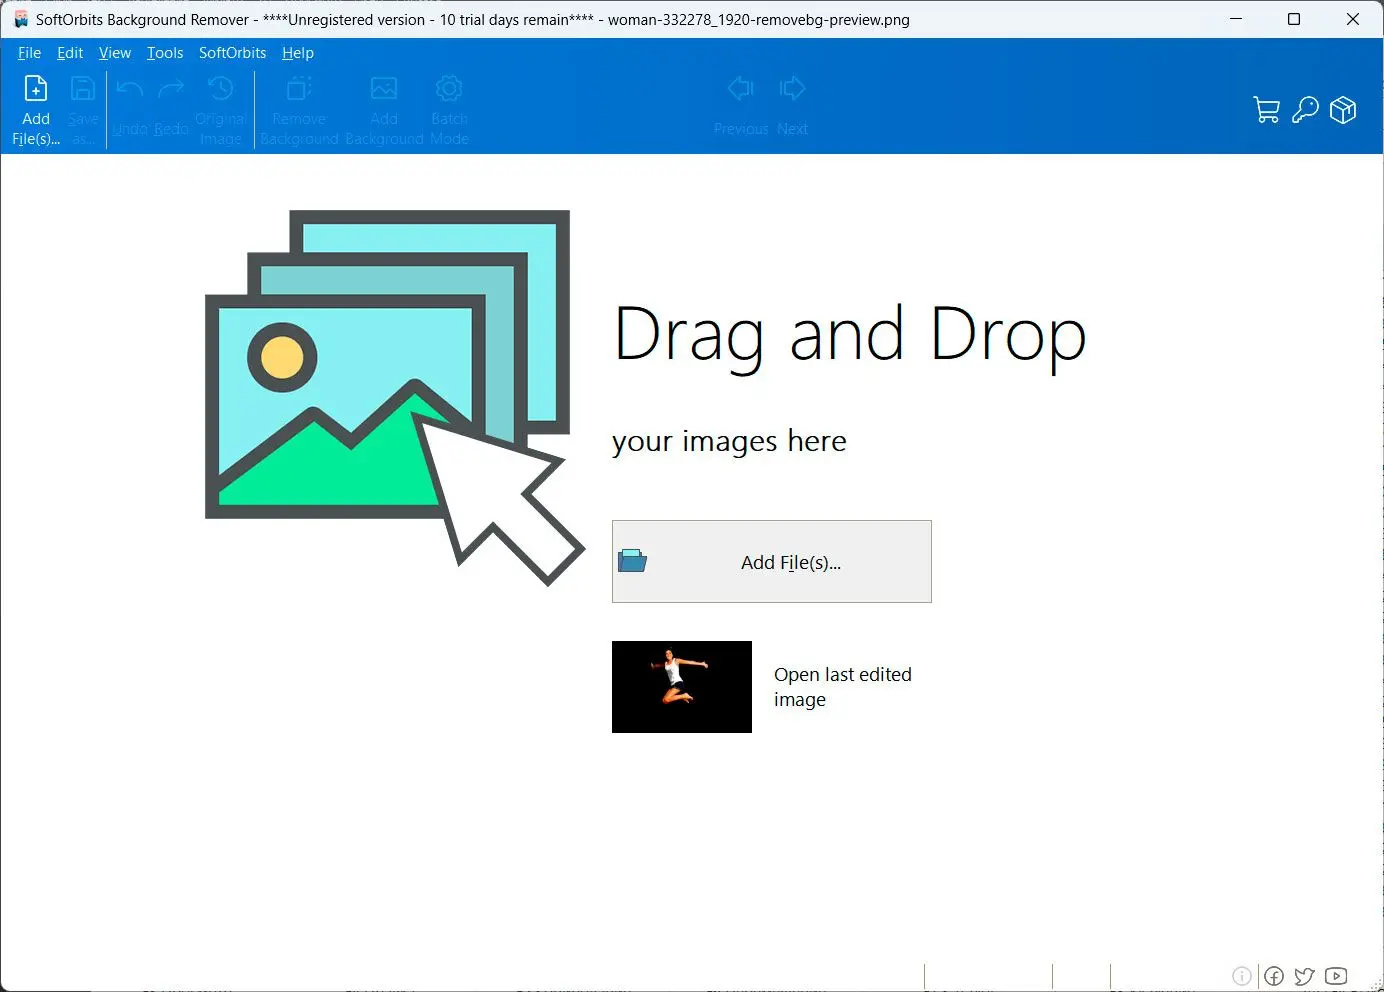
 Photo Background Remover